
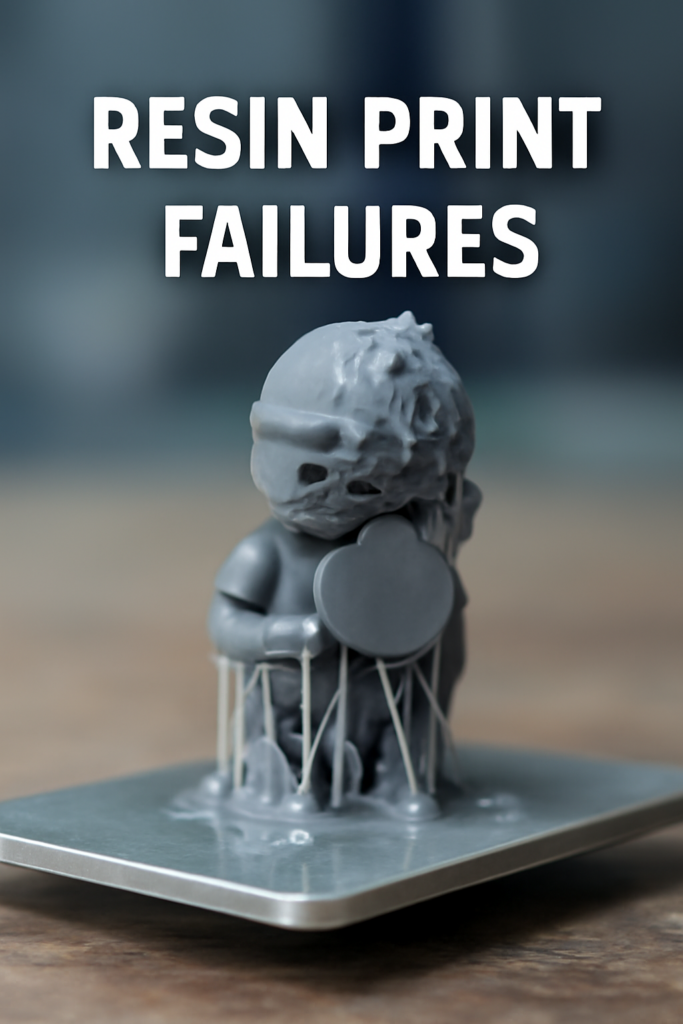
If you’ve ever pulled a freshly printed model off your build plate only to find it distorted, half-formed, or stuck in the resin vat, you’re not alone. Resin 3D printing, while capable of incredible detail and precision, is notoriously finicky. Even seasoned users encounter failures that feel random or inexplicable. But most issues are symptoms of predictable problems, and with the right knowledge, they can be identified—and avoided.
This blog is your hands-on guide to solving the most common resin print failure types, with clear, field-tested advice designed to help you print smarter. Whether you’re facing adhesion issues, delamination, or mysterious holes, this guide will walk you through the fixes—and perhaps more importantly, show you how to prevent failures before they start.
Let’s explore what’s actually going wrong and how to fix it.
Understanding Resin Print Failures
Resin 3D printing works by using a light source to cure photopolymer resin, building up layers one by one. This process sounds simple on paper, but in practice, it’s a delicate balance of hardware, software, environment, and resin chemistry. Even a small deviation in one of these areas can result in a failed print.
Common print failures aren’t just frustrating—they’re costly, wasting time, resin, and sometimes even damaging your printer. Yet most of these failures fall into a few clear categories, and with a deeper understanding of their root causes, you’ll be far better equipped to produce successful prints consistently.
Build Plate Adhesion Failure
You hit print. Everything seems fine. But when the build plate rises from the resin vat, there’s either nothing there or a warped mess clinging to the FEP film. Adhesion failure is one of the most common and demoralizing problems in resin 3D printing.
What’s Really Happening?
Adhesion failure occurs when the first few layers of your print don’t stick firmly to the build plate. Without a strong foundation, the rest of your model has nowhere to grow. Instead, it may detach mid-print and float uselessly in your vat.
This can be caused by:
- Improper build plate leveling
- Insufficient bottom layer exposure time
- Cold or highly viscous resin
- A smooth or oily build plate surface
How to Fix It
The solution starts with perfecting your calibration. Ensure the build plate is leveled correctly and makes slight resistance against a piece of paper across all four corners. Recalibrating may sound basic, but even tiny misalignments can lead to consistent failures.
Next, increase the bottom layer exposure time by 10–20%, especially if you’re using a new resin or printing in cooler environments. Also, ensure your build plate is thoroughly cleaned and, if necessary, lightly sanded with 400–600 grit to create better mechanical grip.
And don’t forget the resin itself—keep it at room temperature or slightly above to maintain optimal flow characteristics. If your resin feels cold or sluggish, warm it gently using a heater or by placing the bottle in warm water (in a sealed bag).
Delamination Between Layers
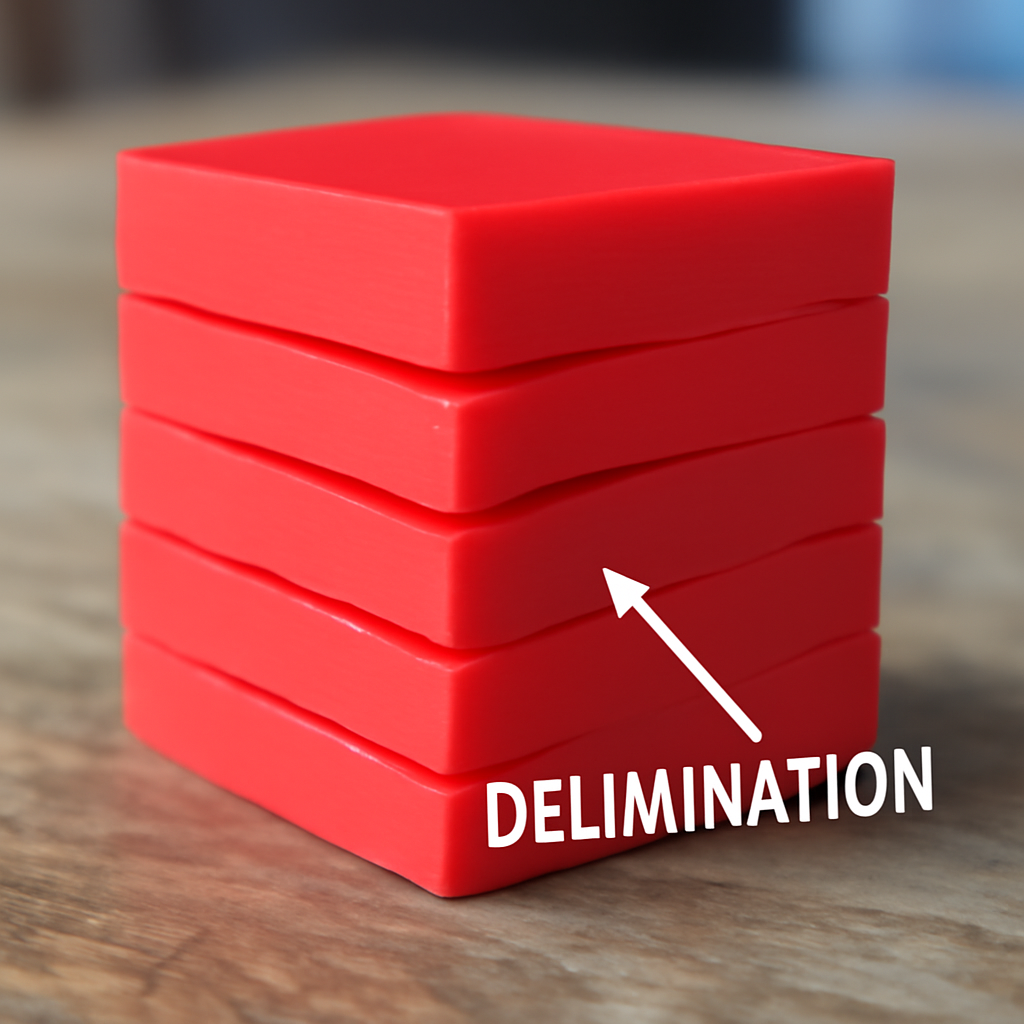
A print that begins beautifully but ends in disappointment—splitting apart layer by layer—is often suffering from delamination. This failure is subtle and deceiving. You may not notice it until post-processing when chunks peel off or layers separate under pressure.
What’s Going Wrong?
Delamination occurs when successive layers don’t properly bond. The result is visible gaps, splits, or even full detachments mid-print. It’s often caused by:
- Under-exposed regular layers
- Over-exposed bottom layers creating tension
- Too-fast lift speeds
- Insufficient wait time before layer lifts
- Contaminants in the resin vat or on the FEP
This issue can also stem from support structure failures, particularly if the model lacks adequate anchoring during early layers. To get adding and removing supports perfectly, our guide on 3D printing supports is a must-read.
Fixing the Problem
Start by increasing the exposure time of your regular layers. If your prints are consistently splitting or separating, they might not be curing thoroughly enough to bond to previous layers.
Also, revisit your bottom layer settings. Too much exposure on early layers can create an overly rigid base that pulls against softer, under-exposed layers above. Dialing back the bottom exposure time slightly may reduce this internal tension.
Pay attention to mechanical movement, too. A lift speed that’s too aggressive or a wait time that’s too short can disturb layer adhesion. Slower speeds and longer pauses allow layers to settle and bond more reliably.
Regularly clean and inspect your vat and FEP film. Cloudy, scratched, or resin-contaminated surfaces can interfere with light transmission and create weak bonding zones.
Phrozen’s in-house test team specifically calibrates exposure settings and support strategies for Verified Models to reduce delamination risks dramatically. These pre-configured files save time and help prevent the kinds of mid-print surprises that lead to wasted resin.
Support Structure Failures
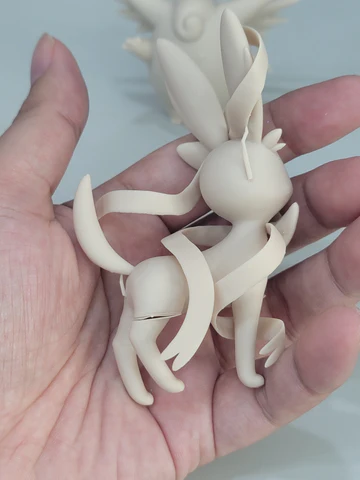
You’ve sliced your model, added supports, and hit print. But somewhere along the way, the structure collapses, leaving your model either partially printed or a twisted mess. This is a classic support failure, and it’s particularly common with tall, complex, or heavily overhanging prints.
What’s Actually Happening?
Support failures occur when:
- Supports are too thin or sparse
- Support tips are poorly connected
- Supports are placed in suboptimal positions
- Exposure or lift settings are too aggressive
Even if your supports look fine on-screen, real-world conditions can expose their weaknesses—especially when a model is heavier, longer, or poorly oriented.
How to Fix It
The fix begins at the design and slicing stage. Increase the support density and thickness, especially for large or intricate prints. If you’re unsure where to place supports, rely on auto-generation first, then manually strengthen vulnerable areas.
Pay special attention to the support tips—the part that touches the model. Increasing tip thickness and intersection helps prevent them from snapping off prematurely.
Mechanically, reduce the lift speed and increase wait time before lifting. This minimizes torque on fragile supports during detachment from the FEP film.
And finally, avoid overly ambitious orientations. A flatter, more stable angle requires fewer supports and tends to produce better results.
Phrozen Verified 3D Models are crafted with expert support logic, tailored to both machine specifications and model geometry. This means fewer failed supports, more stable prints, and less time spent manually editing support trees.
Surface Defects (Rough, Ragged, or Pitted Prints)
Your model printed completely, but instead of the silky finish you expected, you’re left with grainy textures, tiny pits, or flaps of stray resin. These surface defects may not render your print unusable, but they certainly dull its impact—and your satisfaction.
What Causes This?
Surface defects come in various forms, but they typically stem from:
- Over- or under-exposure
- Poor resin flow
- Contaminated resin or vat
- Rapid lift speeds disturbing layer bonding
One common phenomenon is ragging—thin flaps of semi-cured resin hanging from the model. Another is the “orange peel” effect, a bumpy texture often due to under-cured resin layers.
Steps to Resolve It
Begin with your exposure settings. If your layers are over-cured, the resin hardens beyond its boundaries, creating gritty textures. On the other hand, under-exposure results in poorly formed surfaces. Dial in your settings using a calibration model, adjusting by small increments until you hit the sweet spot.
Maintain a clean resin vat and FEP film. Even microscopic debris can disturb layer formation. Always filter your resin after a failed print and inspect your vat before every new job.
Keep your resin well-mixed and at a consistent temperature. Cold or settled resin leads to inconsistent flow, which directly impacts layer quality.
Mechanically, slow down lift and retract speeds and extend wait times to ensure each layer has enough time to bond and cure before the next begins.
Verified Models from Phrozen are tested under real-world conditions to ensure surface details are retained without introducing these common flaws—especially valuable when printing high-detail miniatures or prototypes.
Random Holes and Gaps
The print finishes, looks decent from a distance, and then—there it is. A hole in the model, right where it shouldn’t be. Or worse, multiple gaps and voids that disrupt structural integrity or aesthetics. This isn’t a design flaw; it’s a resin print failure that many users encounter.
What’s Going Wrong?
Random holes are typically caused by:
- Under-exposure in thin or detailed areas
- Air bubbles in the resin
- Insufficient wall thickness in the model
- Hollow prints without proper drain holes
- Cured resin debris floating in the vat
These holes can range from tiny pinholes to large craters that expose the interior of your model. Left unaddressed, they can weaken mechanical parts or require excessive post-processing.
Fixing the Gaps
Start by checking your model’s wall thickness in your slicer. If it’s below the recommended threshold for your resin or printer resolution, increase it. For prints with hollow interiors, always include strategically placed drain holes to release trapped air and resin during curing.
If your print has small craters or dimples, it may be suffering from air bubbles or insufficient curing. Stir your resin thoroughly before pouring and allow it to rest so bubbles can rise. Filtering your resin before use also helps remove clumps or debris that block UV light paths.
Lastly, increase exposure time slightly for regular layers, especially if your model contains fine details or thin walls. This helps ensure that even small features cure completely.
Phrozen’s pre-supported Verified Models are designed with optimal wall thickness, proper drain hole placements, and validated exposure presets to help eliminate these unpredictable issues—so what you print is exactly what you expect.
Unwanted Lines and Artifacts
Everything was set: your calibration, supports, exposure—spot on. But your final print has weird lines, layer shifts, or odd ridges across its surface. These visual artifacts can seriously diminish the quality of your models, especially for presentation or prototype purposes.
What’s the Cause?
These visual distortions often stem from:
- Z-wobble or mechanical misalignment
- Dirty or damaged FEP film
- Light leakage or scattered UV exposure
- Incorrect print settings (layer height, exposure, speed)
Even a slightly loose screw on your Z-axis rod can create vertical banding or layer shifts across the entire print.
How to Eliminate Artifacts
Begin by examining your printer’s mechanics. Check for play or wobble in the Z-axis, especially in larger printers. Tighten any loose connections and apply lubricant if needed. Run a small calibration print to verify smooth vertical movement.
Next, inspect your FEP film for scratches, fogginess, or resin residue. A worn-out film scatters light unpredictably and introduces subtle distortions in the layer formation. Replace it if needed.
Light leakage can also cause strange cross-curing issues. Ensure your printer is enclosed properly, and that the cover is free from cracks or misalignments. UV exposure should only come from the intended light source—not ambient light.
Fine-tune your print settings by adjusting layer height and exposure balance. Sometimes artifacts arise simply because the layer resolution is too coarse for the desired detail.
Preventive Tips for Perfect Prints
Troubleshooting individual issues is crucial, but prevention is the real game-changer. When you consistently apply smart practices before each print, your chances of failure drop dramatically. Here’s how to create an environment where successful prints become the norm.
Master Your Calibration
Perfect build plate calibration is non-negotiable. Even a slight tilt or imbalance can lead to adhesion failures, warped layers, and inconsistent bonding. Take the time to recalibrate regularly, especially after a failed print or hardware change.
Control Resin Temperature
Cold resin behaves poorly—it thickens, settles unevenly, and resists flowing into fine details. Maintain a stable room temperature or use a resin warmer to ensure optimal viscosity and curing consistency.
Cleanliness is Not Optional
A dirty vat or unfiltered resin is one of the leading causes of failures. Always filter your resin after each use, wipe down your FEP film, and inspect the vat for cured fragments. Likewise, a smudged or scratched LCD screen or mirror can scatter light and distort exposure.
Tune Your Exposure Settings
Default slicer settings may not be optimal for your specific resin or printer. Use calibration tests to dial in exposure time, lift speed, and wait time, then save your successful profiles. Printing the same model with the same settings? Consistency is key.
Keep a Print Log
Tracking your print outcomes, settings, resin types, and environmental conditions gives you a clear roadmap for improvement. Over time, you’ll build a reliable database of what works and what doesn’t.
Why Verified Models Make a Difference

While slicing and supporting your own 3D models can be rewarding, it also introduces room for error—especially for complex or high-detail prints. That’s why Phrozen offers Verified 3D Models, created by our expert design team to give you the most hassle-free printing experience possible.
What Sets These Models Apart?
Each model is:
- Pre-supported using optimal geometry tailored to Phrozen’s printer specs
- Test-printed in-house to ensure structural success and visual fidelity
- Designed for balance, minimizing resin use while maximizing stability
- Pre-configured with settings that match your printer’s capabilities
This means you spend less time tweaking, and more time printing successfully. Whether you’re printing miniatures, dental models, or engineering prototypes, these files are ready to go—no slicing stress, no support guesswork.
For beginners, Verified Models eliminate the steepest part of the learning curve. For pros, they save valuable hours on prep. And for everyone, they deliver repeatable results that reflect Phrozen’s commitment to professional-quality prints.
If your goal is consistency, efficiency, and fewer failures, Verified Models aren’t just convenient—they’re an investment in smarter printing.
Conclusion: Turn Failures Into Mastery
Every resin print failure—whether it’s a print that won’t stick, layers that delaminate, or a model riddled with holes—is a learning opportunity in disguise. The key to mastering resin 3D printing isn’t just fixing what’s broken. It’s about recognizing patterns, building best practices, and using the right tools to create an environment of consistent success.
By understanding the root causes behind the most common resin print failure types, you’re already one step ahead. Add in preventive maintenance, smarter slicing, and the power of Phrozen’s Verified 3D Models, and you’ll move from troubleshooting to triumph—print after print.
Frequently Asked Questions
Why does my resin print not stick to the build plate?
Poor calibration, cold resin, or insufficient bottom layer exposure are the most common culprits. Re-level your build plate, increase exposure time, and warm your resin before printing.
How can I fix resin print delamination?
Increase the exposure time of your regular layers and reduce lift speed. Also, ensure your vat is clean and that there’s no cured debris blocking the UV light.
What causes random holes in resin 3D prints?
Holes can result from under-exposure, trapped air bubbles, or thin wall structures. Use proper drain holes, mix your resin well, and verify your wall thickness in the slicer.
Is using pre-supported models really worth it?
Absolutely. Phrozen Verified Models are optimized by professionals to prevent support and exposure failures, saving both time and resin—especially on complex or detailed prints.
How do I get the best surface quality on resin prints?
Balance your exposure settings, clean your vat regularly, and slow down your mechanical settings. Also, ensure your environment is free from dust and that your resin is filtered before use.